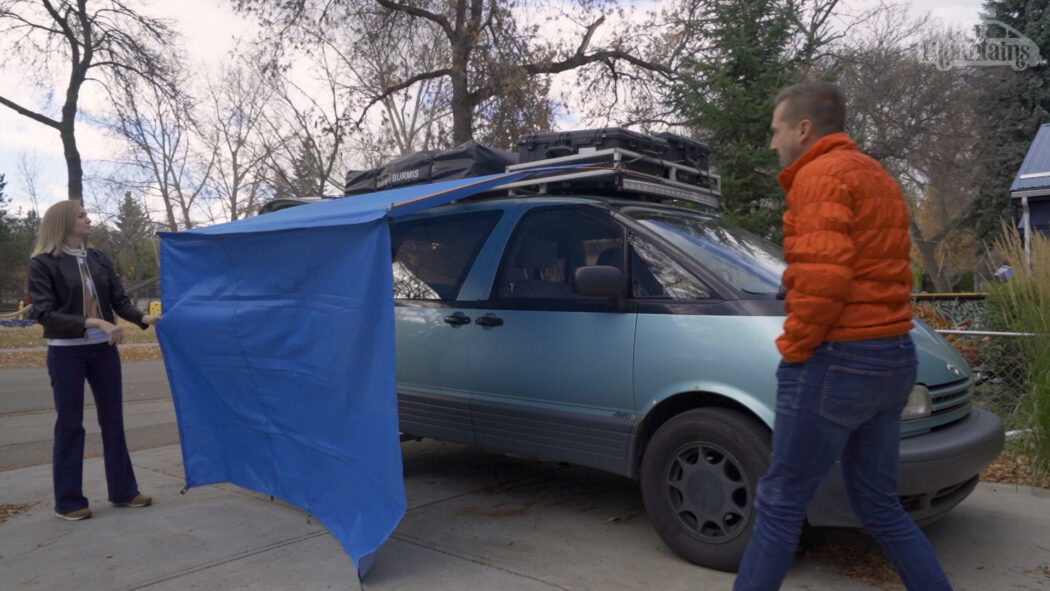
When we built our first awning, there were two issues with it
- It needed 2 people to set it up,
- It was permanently attached to the van.
When we began to plan for the next version, there were a few things that needed to be part of its design:
- It needed to be light,
- It needed to be easy to set up,
- It needed to cost less than $100,
- It needed to be free-standing
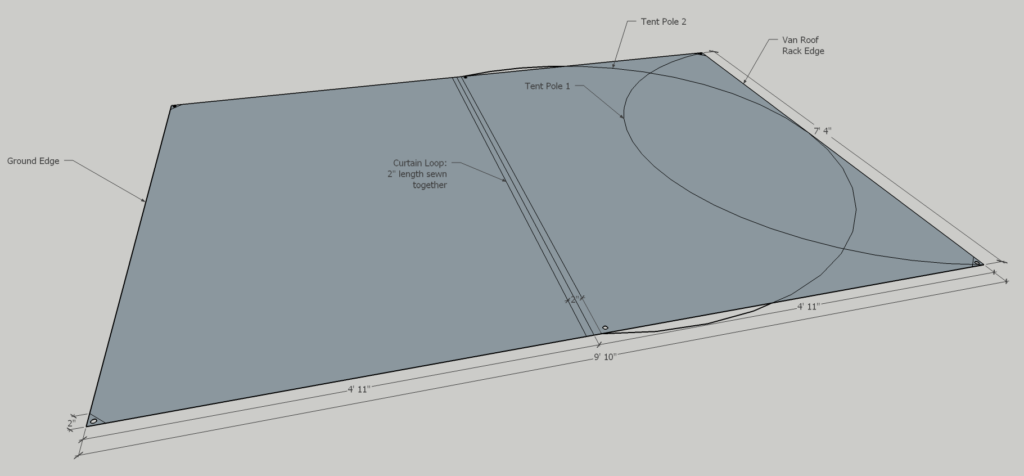
The last one was going to be the trickiest. To do this, I decided to use items that already existed – hollow aluminum collapsing poles and silnylon.
If you use SketchUp, you can download the layout for our tarp as a .SKP here. Note that your van will likely need the sizing to be adapted to it’s length and height.
Gathering your Parts and Tools
Finding parts was easy. When I prototype, I love to order from AliExpress. When you don’t know if something will work, bottom dollar makes it easy and low risk for experimentation. As someone who believes you get what you pay for, I sometimes have to replace parts after completing a project to ensure things won’t break as I use them. Fortunately, more often than not, the quality from AliExpress is just as sound as goods sourced in North America.
I tracked down the following items (these are the same or similar items on Amazon – buying them generates affiliate income):
- 2″ Hose Clamps (choose the size for your specific roof rack)
- Tent Poles (8.5mm diameter, 2 per pack)
- 190T Silnylon Tarp (choose the size for your van)
- Plastic Tent Hooks (optional)
- Elastic Cord
- Aluminum Channel – I couldn’t find this on Amazon, but was able to find it at my local Home Depot. It’s used as an edging for tile and is a standard 1/2″ channel made from 1/8″ aluminum leaving the gap width 3/8″ (9.5mm)
Tools Required:
- Mitre Saw (or other saw suitable to cut the aluminum bar)
- Metal file or sand paper (to smooth the cut edges on the aluminum)
- Plyers (to close latches on the locking hooks)
- Sewing Machine (or take the tarp to a tailor/seamstress to be adjusted)
- Knife
- Screw driver or nut driver (to tighten the hose clamps)
Building the Awning
There are 2 big challenges in building this awning. First, is finding a way to attach this to your roof rack. Mine is super easy to work with, so you might have a bit bigger challenge finding a location to attach your tent poles. How you finally attach these might also create a need to use something other than the aluminum channel. If you are looking for alternatives, finding a small PVC pipe, or a PVC nipple might be a good alternative. The second challenge is determining the size of your tarp. If you are lucky, you can find a tarp the exact size you need, which will save you from modifying the tarp length. Be sure the tarp you buy has grommets in the corners (and having them in the middle is handy too) already.
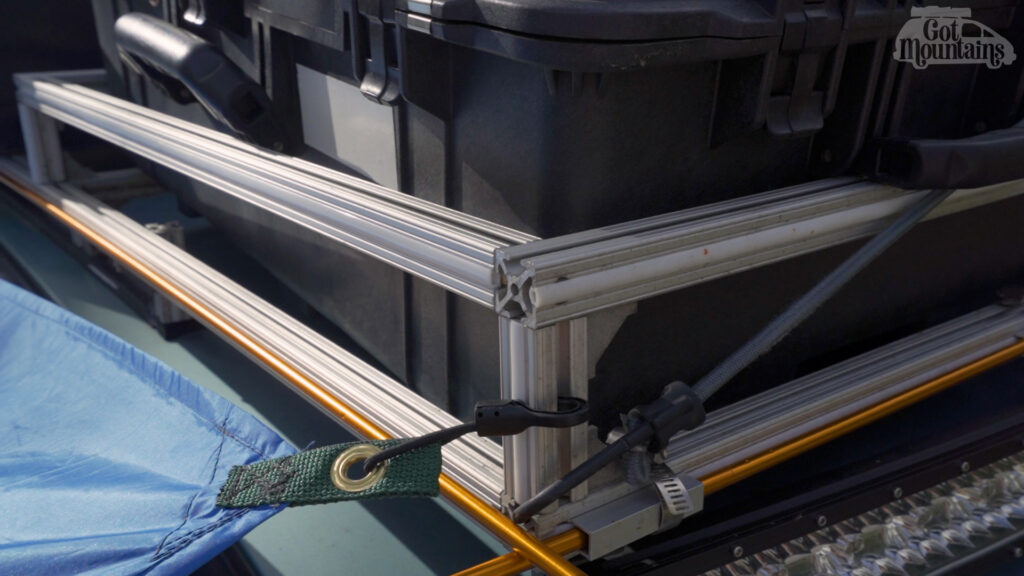
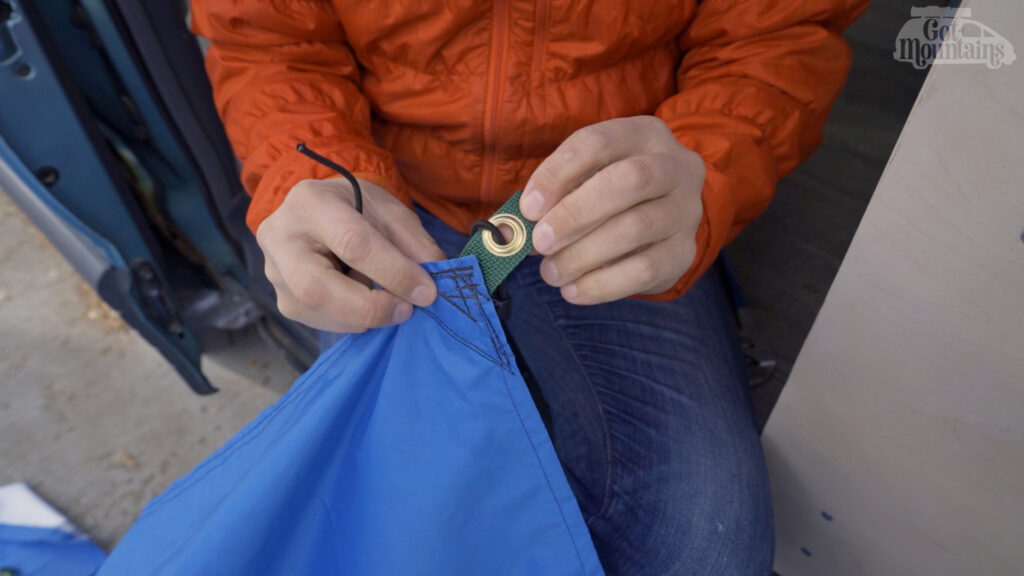
You’ll need to tie the hooks and elastic the the corners at this point. You can adapt the elastic on each corner depending what you connect to. I’d suggest connecting the hook to the hose clamp, but you may have to use some ingenuity to find the best solution, as each roof rack and van is unique.
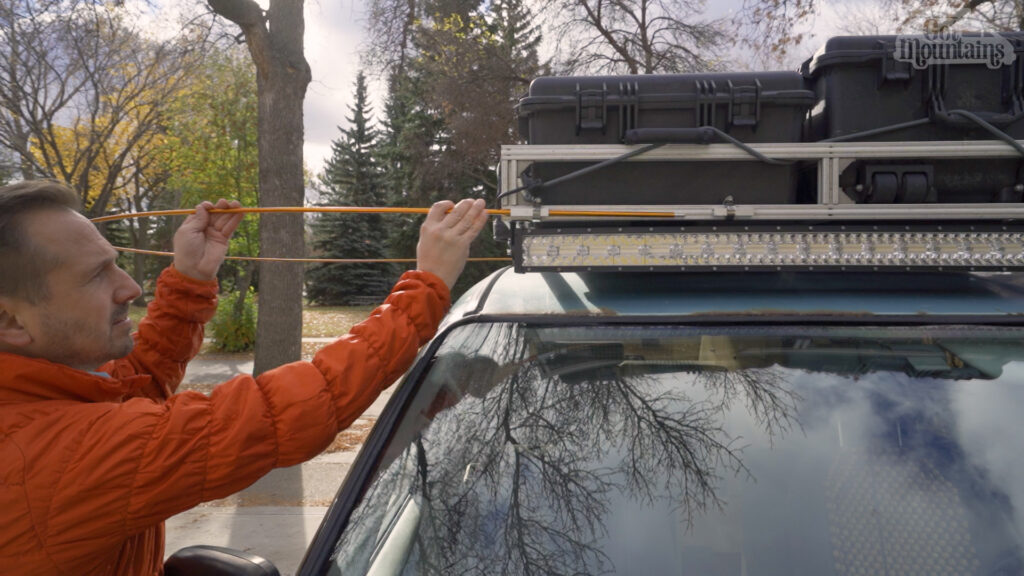
Once your tarp is ready, attach the aluminum channel (or PVC) to the front and back of your roof rack in places that are suitable for your awning width. For the first tent pole, you’ll need an anchor point that is at least 12″ long. To save on material, you can place two short anchors about 12″ apart (as seen in my video).
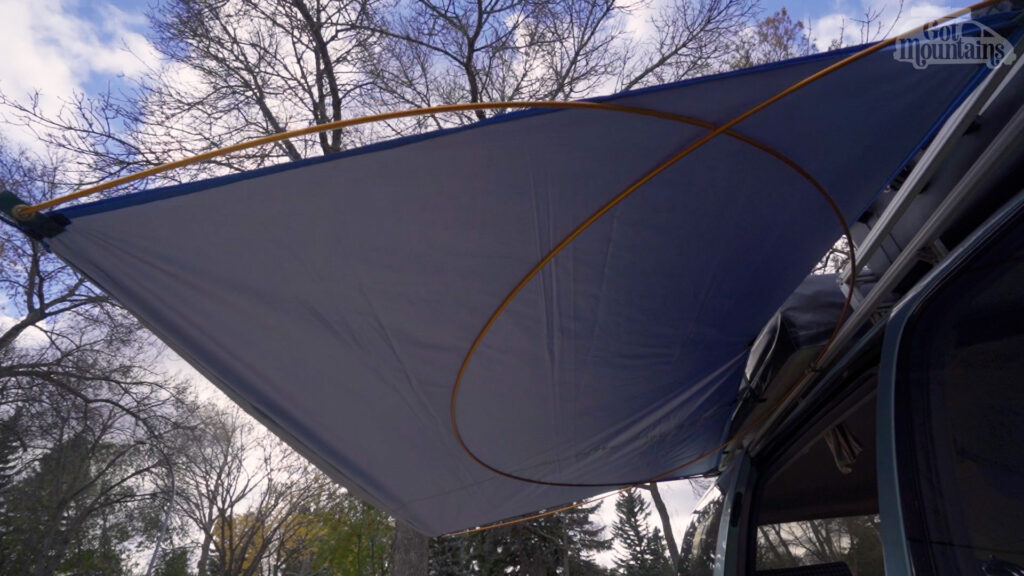
At this point put the first tent pole in place. This pole acts as a support for your second pole. This is when you’ll start to see everything come together.
Next, you’ll need an anchor point in the center of your roof rack. This anchor only needs to be a small one, mine was 2″ wide. If you can have this point lower than the two end points, this will tilt the outside of your awning up higher, so take a moment to experiment with it once the first tent pole is in place.
Remember that if you bend the aluminum poles too far, they can break. If this happens, you can take the broken section out by pulling the tip of the tent pole out of the end, untying the elastic cord that runs through the center, and removing the sections including the broken one. Then, just run the elastic through the inside of the unbroken tubes you removed, and tie the elastic a little tighter to compensate for the missing section. Your pole will be one section shorter, but should still be usable.
Once the center section is in place, slide the second tent pole OVER the first and through the middle anchor point. Be sure that BOTH ends of the second pole are on top of the first…this is how they get their support.
Take your tarp and connect the front hook to the front of your roof rack. Making sure your tarp goes overtop of your tent poles, hook the rear of the tarp to the back of the roof rack. Then, take the rear end of the second tent pole and put the rear center grommet of the tarp over the tip of the tent pole. Do the same with the front end of the second tent pole to the front center grommet of the tarp.
Congrats! At this point, you should have an awning!
The bottom can be tethered to the ground, to another van parked beside you, or flipped up overtop and back to your roof rack.